

文章目录
- 下载
- 安装 CMakeList 相关组件
- 登录账号
- 创建运行项目
- 错误处理
下载
下载流程 :
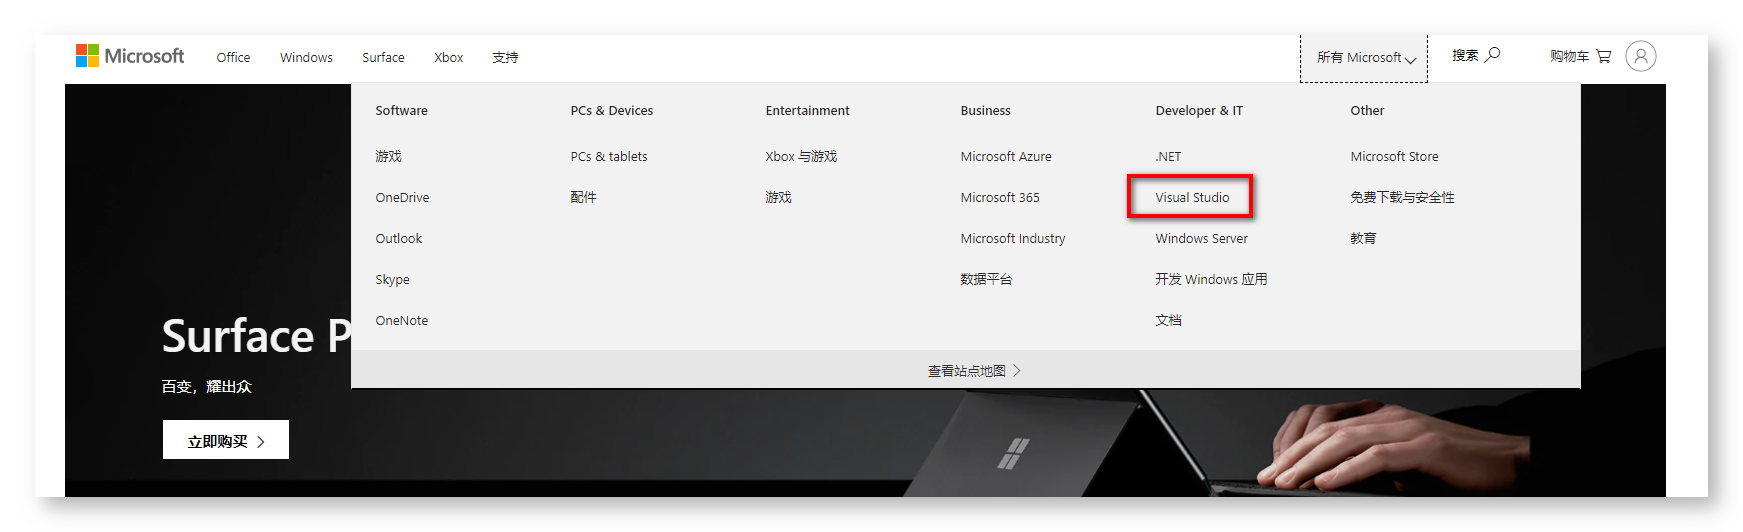
① 进入微软官网 : https://www.microsoft.com/zh-cn/
② 选择 Visual Studio 选项 : 在右上角的 “所有 Microsoft” 的下拉菜单中 , 选择 “Visual Studio” ;
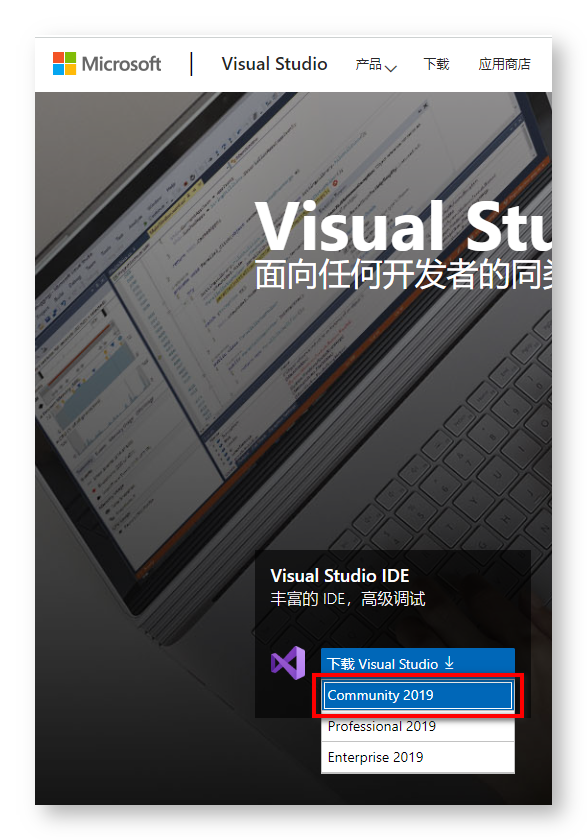
③ 选择社区版本下载 : 在弹出的界面中 , 选择 “Visual Studio IDE” , 然后选择下载 “Community 2019” , 这个版本是免费的社区版 ;
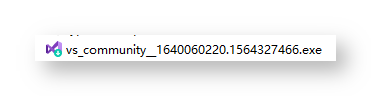
④ 下载后直接运行即可 :
安装 CMakeList 相关组件
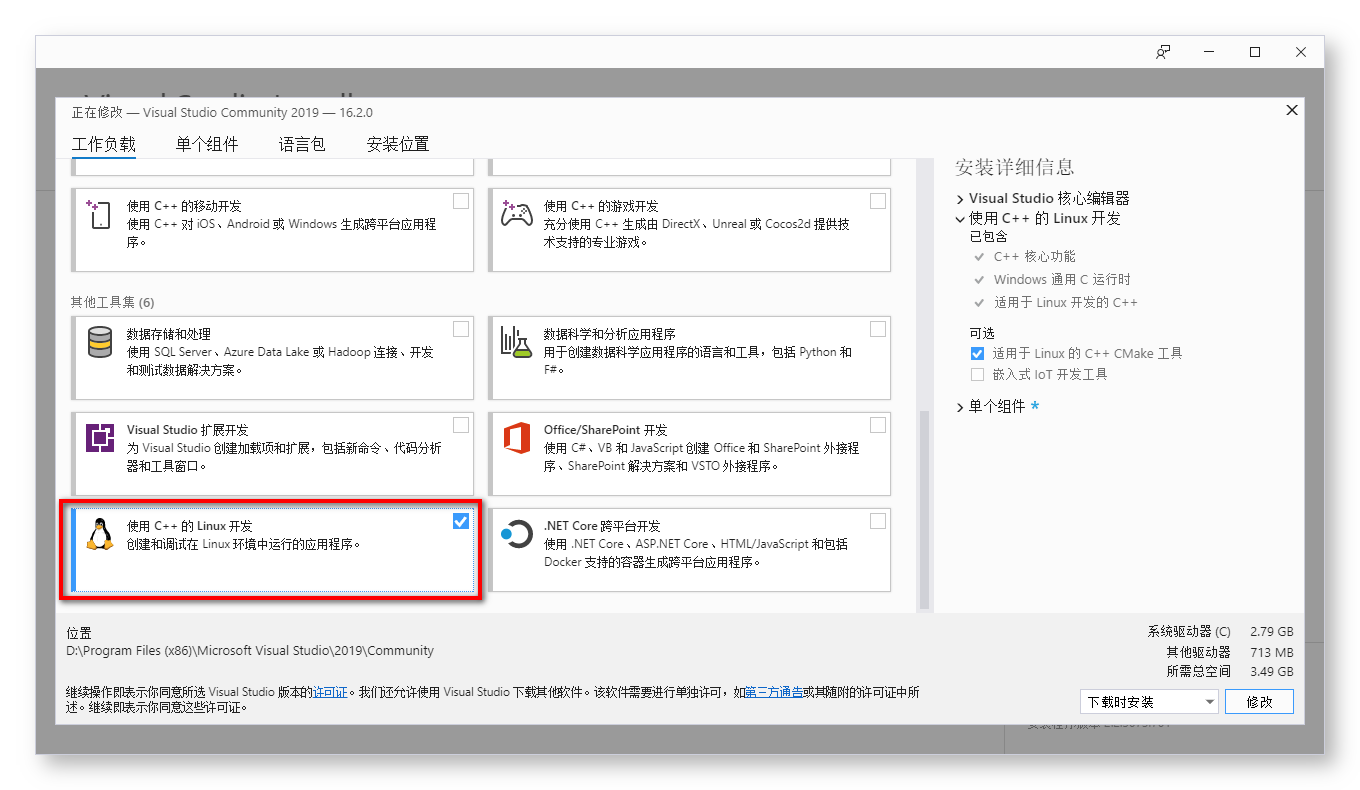
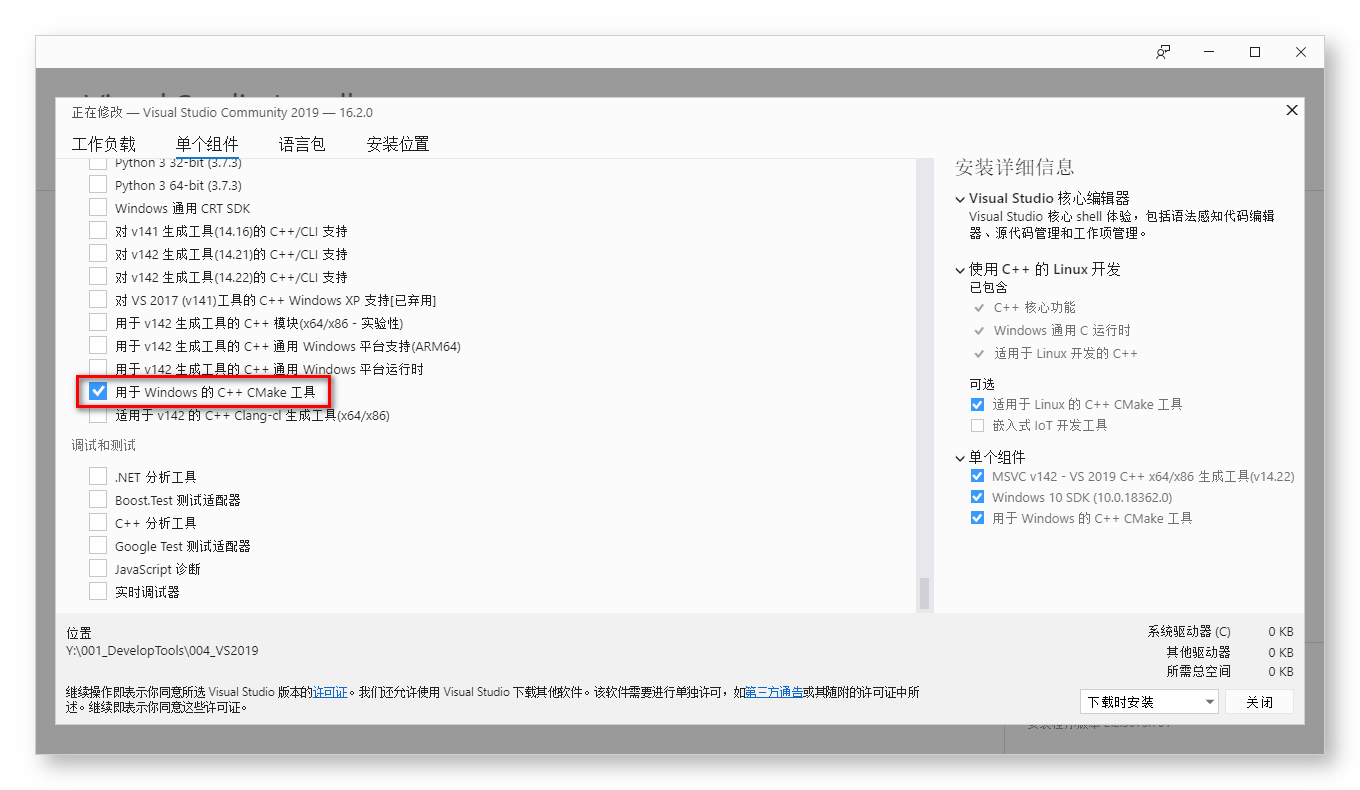
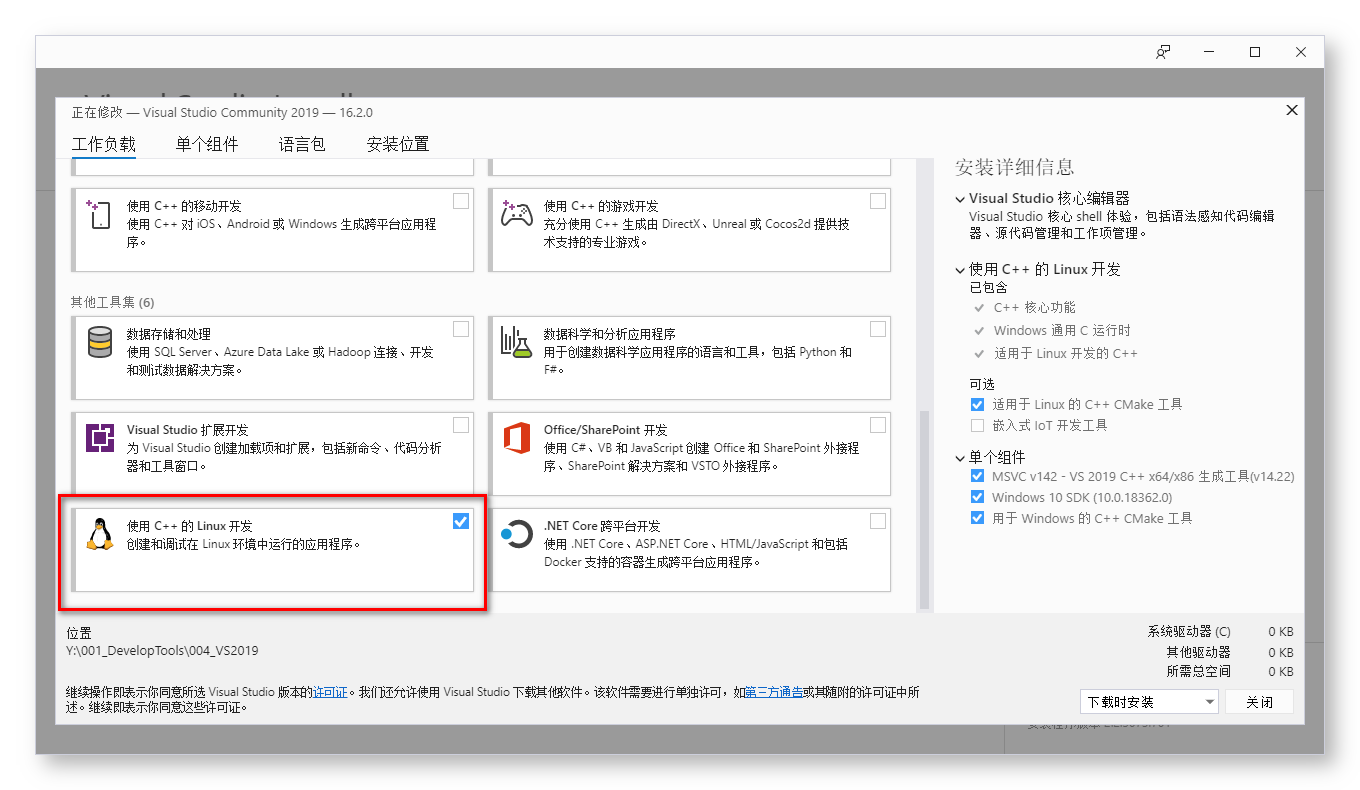
① 工作负载 中 选择 “使用 C++ 的 Linux 开发” , 右侧勾选 “适用于 Linux 的 C++ CMake 工具” ;
② 安装单个组件 : Windows 10 SDK ( 10.0.18362.0 ) , 安装最新的 Win10 SDK 组件即可 ;
③ 安装单个组件 : 用于 Windows 的 C++ CMake 工具 ;
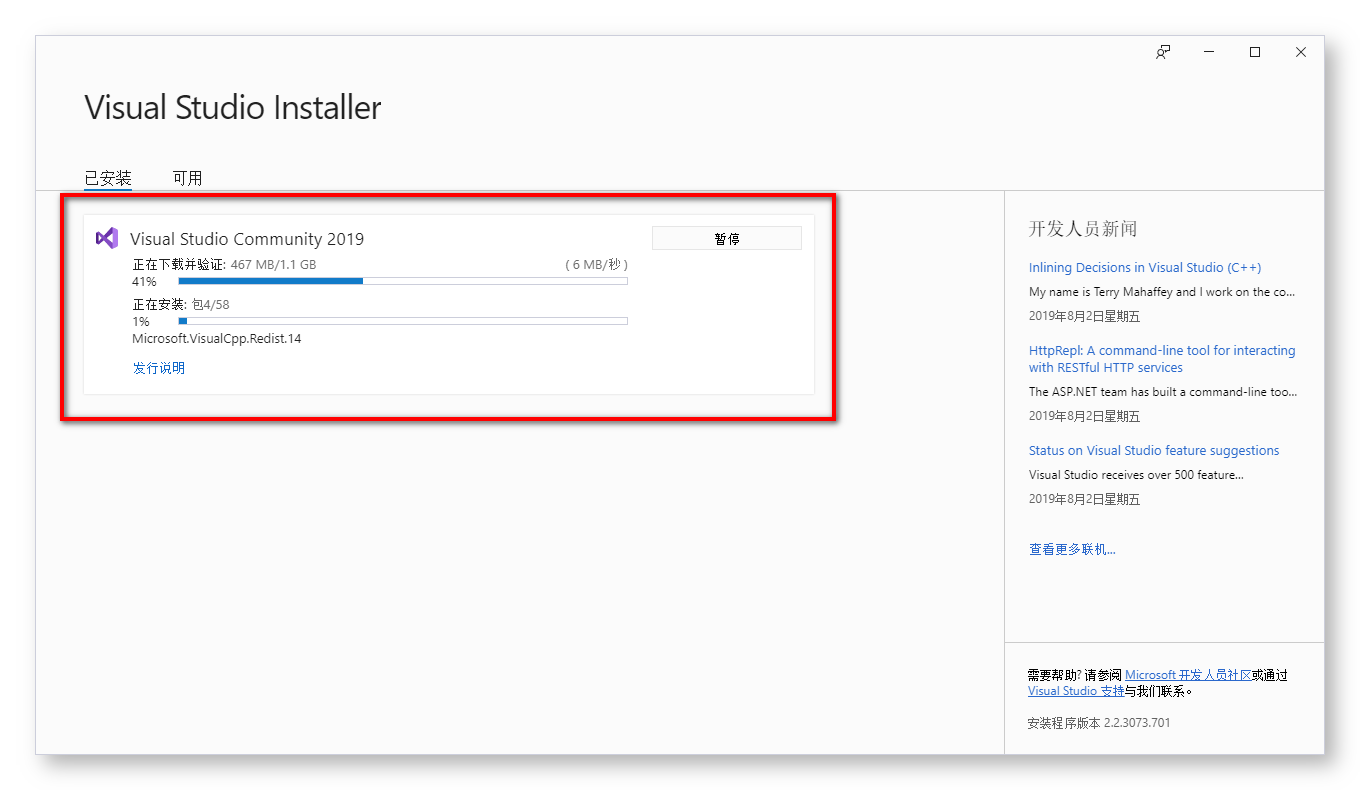
④ 等待安装完毕 重启电脑 即可使用 :
登录账号
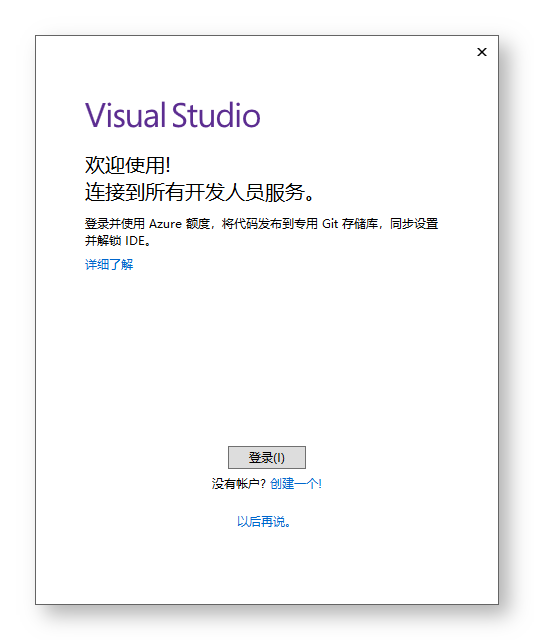
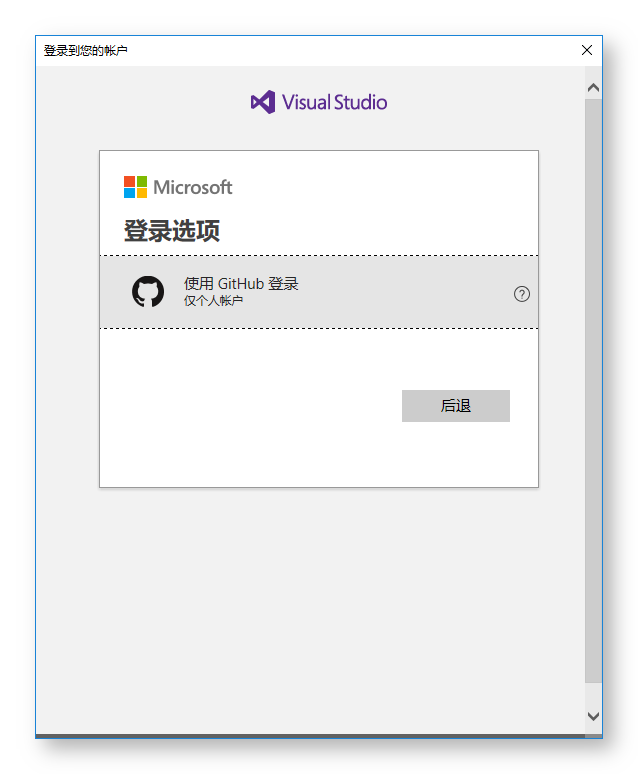
在弹出的登录界面中 , 点击 登录 按钮 ;
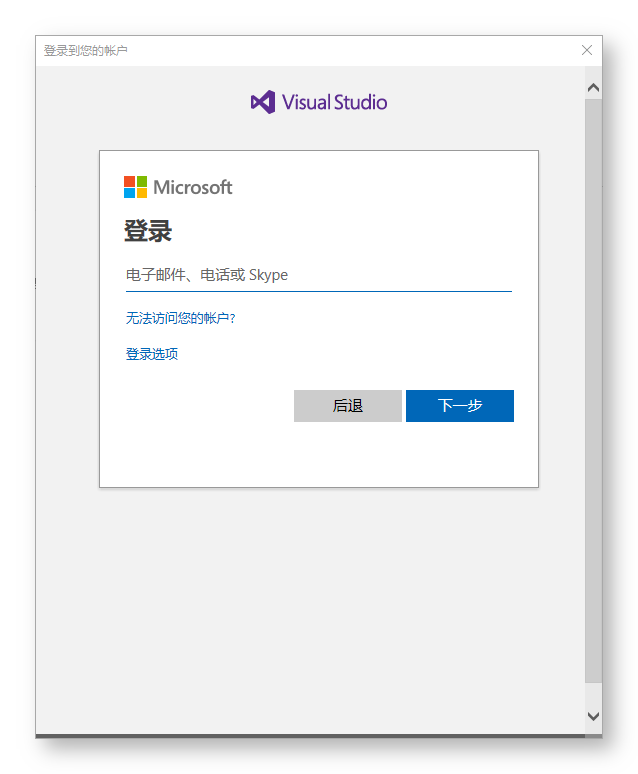
点击登录选项 :
这里直接使用 GitHub 账号登录 :
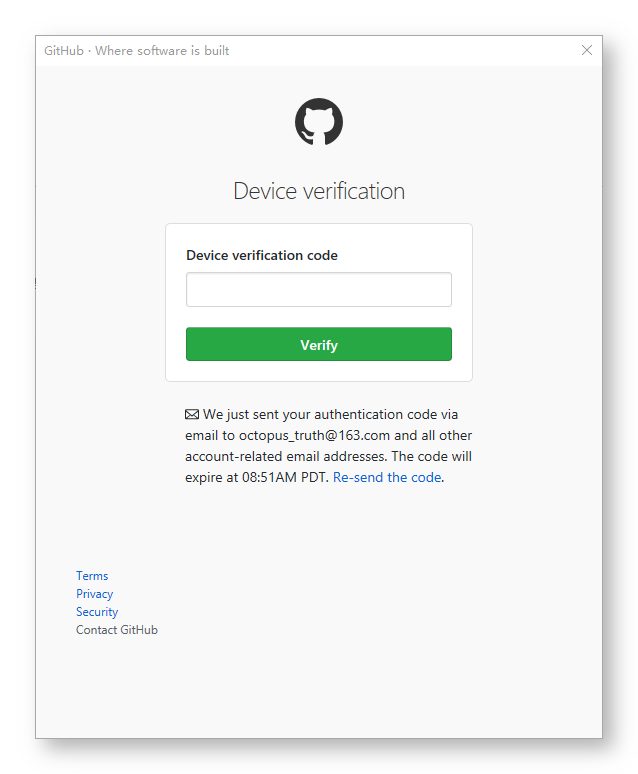
输入验证码 : 验证码会发送到邮箱中 ;
创建运行项目
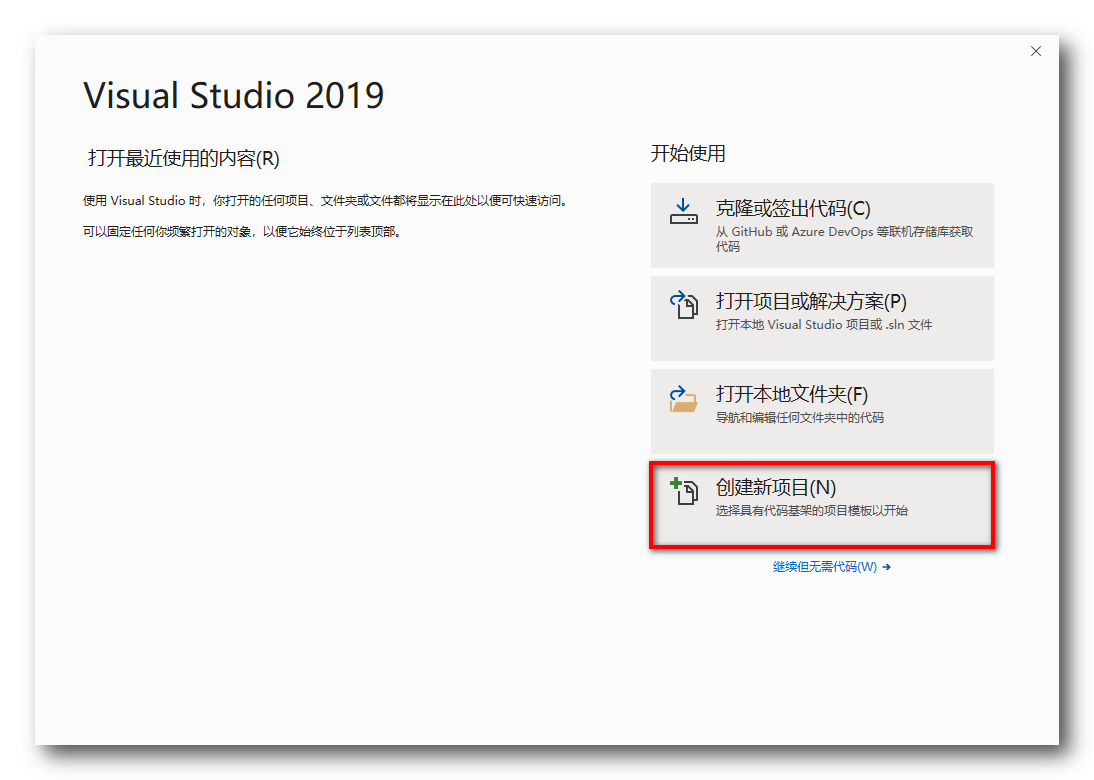
① 创建项目 : 打开 Visual Studio 后 , 点击创建新项目 ;
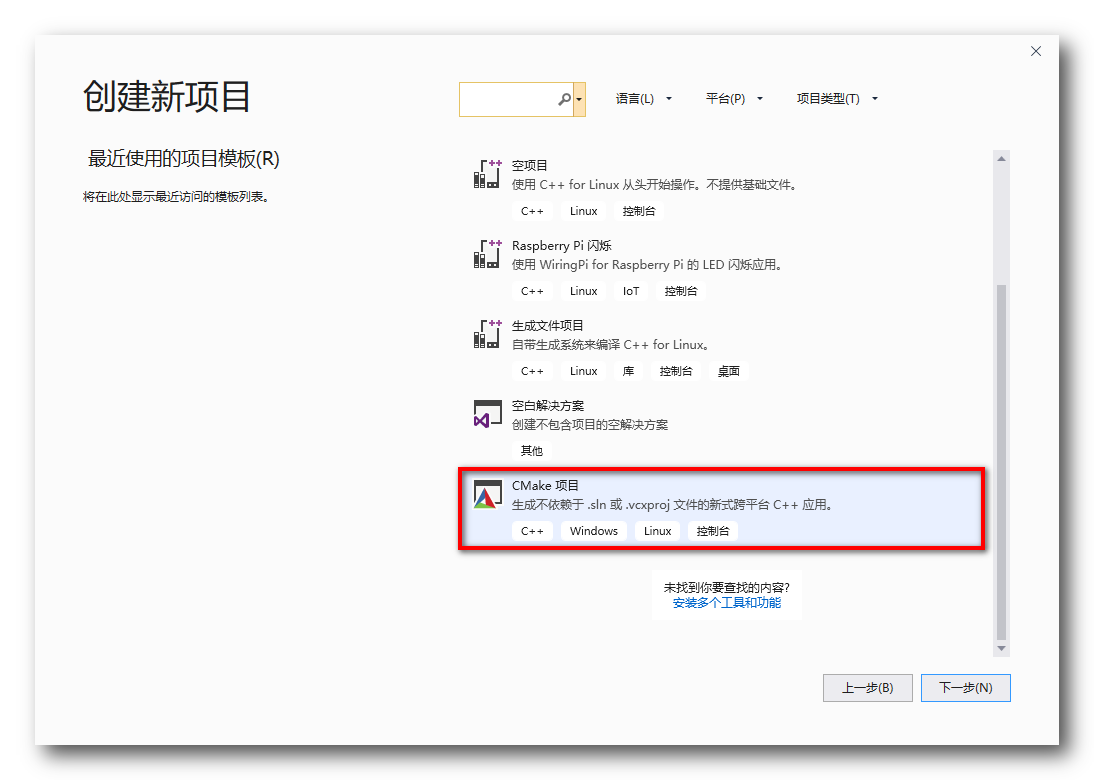
② 选择创建的项目 : 这里创建 CMake 项目 , 在 Android 中就是使用 CMake 来进行 C/C++ 代码构建的 ;
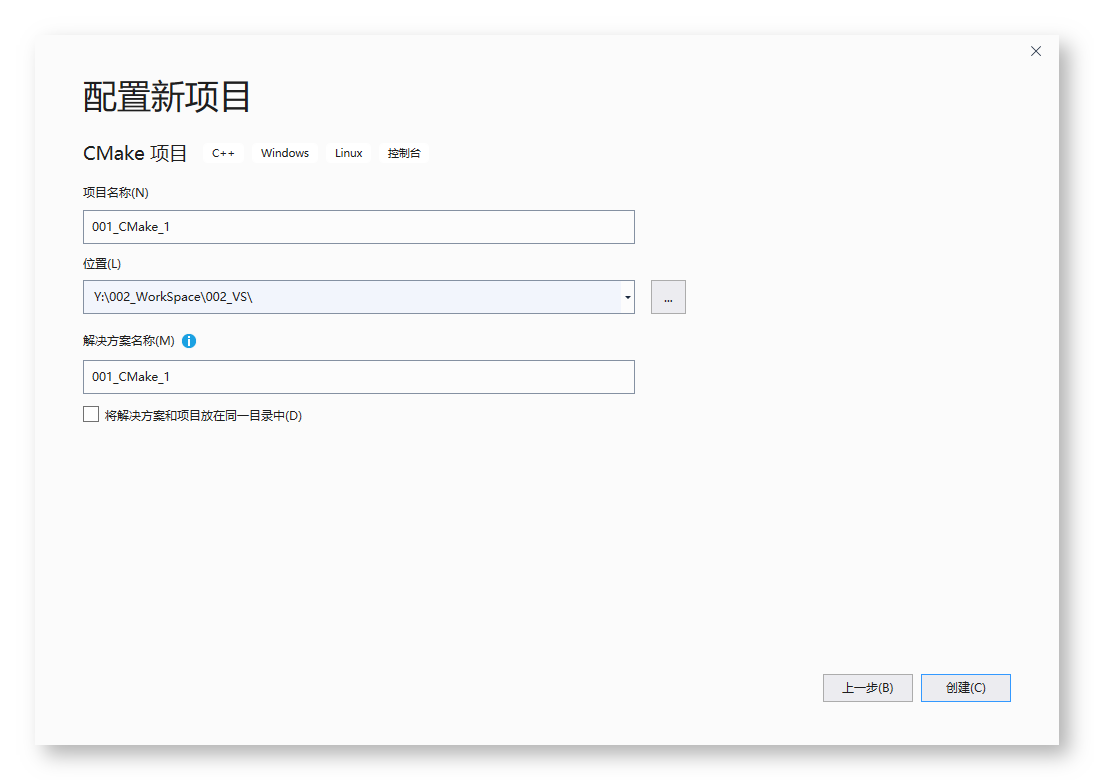
③ 输入项目名称 , 并创建项目 :
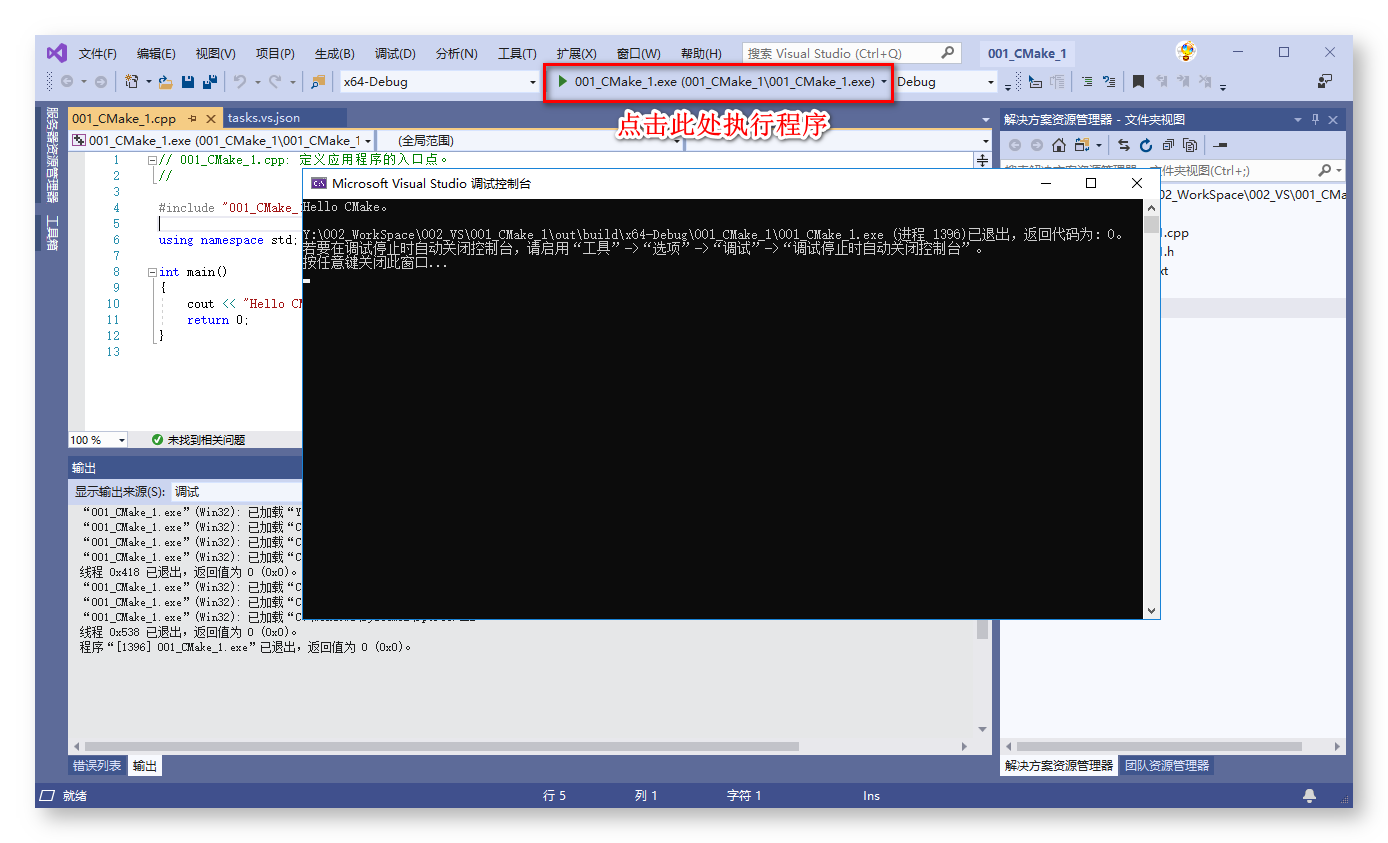
④ 项目编译 : 如果正确地安装了 工作负载 和 两个单个组件 , 该项目是可以成功编译通过 并 可以执行的 ;
错误处理
  No CMAKE_C_COMPILER could be found.

  Tell CMake where to find the compiler by setting either the environment
  variable "CC" or the CMake cache entry CMAKE_C_COMPILER to the full path to
  the compiler, or to the compiler name if it is in the PATH.

  No CMAKE_CXX_COMPILER could be found.

  Tell CMake where to find the compiler by setting either the environment
  variable "CXX" or the CMake cache entry CMAKE_CXX_COMPILER to the full path
  to the compiler, or to the compiler name if it is in the PATH.
CMakeList 项目 开发环境 安装如下内容 :
- 1.工作负载 :需要安装 1 个 工作负载 , 使用 C++ 的 Linux 开发 ;
- 2.单个组件 : 需要安装 2 个 单个组件 , 缺少组件就会出现上述错误 ;
- ① Windows 10 SDK ( 10.0.18362.0 ) , 安装最新的 Win10 SDK 组件即可 ;
- ② 用于 Windows 的 C++ CMake 工具 ;
- ① Windows 10 SDK ( 10.0.18362.0 ) , 安装最新的 Win10 SDK 组件即可 ;
本文由VS软件圈(vssoft.net)发布,不代表VS软件圈立场,转载联系作者并注明出处:https://vssoft.net/vsazwt/VS2017anzhuangwenti/2020/0725/3852.html